Comparing some malts
This malt has been a real challenge. I’ve tried to make it 10 times varying the process each time. My goal has been to make a malt that tastes like Honey malt. So far I’ve come close but not close enough. I wanted to re-do this one as well because a few people had asked me and I was wondering myself, what the difference was between Brumalt and a dark Munich or Aromatic malt. I don’t have much information on Brumalt in the textbooks that I have so I’ve been doing this mostly by trial and error. I’ve been measuring my results with store bought malts (Honey and melanoidin) comparing pH, colour, extract and flavour.
As you may know Honey malt is made by the Gambrinus malting company right here in my home province of British Columbia Canada so I had to ask if they would give me any information on how it’s made. They wouldn’t of course, the recipe is a closely guarded secret but they were nice enough to give me a tour of the plant which you can see here. Like the name says it tastes like honey but it’s a dark honey flavour and has an almost wine-like fermented quality to it.

Barley recently emptied from the steep tank to a Saladin box at Gambrinus Malting Ltd.
The first thing I noticed when comparing malts is that store bought melanoidin and Honey malt have a lower pH than Aromatic malt or a Munich of a similar Lovibond. So what causes this low pH if it’s not the colour?
According to the descriptions I’ve read, after a 6 day germination the green brumalt is piled up and covered with a tarpaulin or if it’s made in a box system all ventillation is cut off and the malt heats up to as much as 50C due to respiration, usually within 24 hours. (Munich is only allowed to reach 25 C). Once enough carbon dioxide builds up the malt stops growing and cools down but the enzymes continue to develop which create a malt with a lot of “low molecular weight sugars and amino acids” (Kunze 2004 p.180) In Malts and Malting, Briggs states that this phase lasts 30-40 hours (Briggs 1998 p. 714) Kunze states 36 hours.
A few more details in Brewing and Malting include a moisture content of 48% and an increase in temperature during the last 36 hours of germination to 40-50C. Sometimes heat was added “…with a low flame” Kunze also states “Melanoidin malt… contributes, by virtue of it’s low pH to flavour stability…” (Kunze 2004 p. 180)
In Jean DeClercks A Textbook of Brewing he describes the practice of “Thickening the Piece” “…used for the preparation of malts with a rich aroma. It simply consists of making the piece into a thick heap on the last two days of flooring. The temperature rises to 50C and enzymatic activity becomes very intense. Pre-formed sugars are formed in large amounts and there is considerable proteolysis.” (DeClerck 1957 p.177) Something else jumped out at me in the DeClerck text when he described an investigation carried out by Luers and Gottschneider on the effects of different proportions of CO2 on malting. With 20% CO2 in the air during germination the presence of ethanol was detected. (DeClerck 1957 p 175) Is this why I’m detecting a wine-like fermented flavour and aroma from Honey malt?
A while ago I made an acid malt by placing green malt into a sealed ziploc bag keeping it warm at 35-40C for 36 hours. The ideal environment to promote the growth of Lactobacillus bacteria which is naturally present on the husks, is at 37C in an anaerobic environment. So it makes sense that some amount of acidification is happening during this couching phase of the brumalt process.
In order to mimic these natural occurrences on a small scale I had to enclose the malt in a ziploc bag to seal out the oxygen. I then added some heat to keep the temperature at 37C This worked well and I was able to get a malt with the pH at the same level as Honey malt after 16 hours at 37C before raising the temperature to 50C to stew. But I wanted to see if I could make it in a way that was closer to the descriptions. I tried it once in a small cooler loosely covered and the temperature rose to 42C due to respiration, but it took three days and I was concerned that the malt would overgrow. When this happens the malt will taste bitter and sprouty. I then bagged the grain for a period to acidify it just like before but this time it didn’t work. After kilning the pH was not lower, I thought that perhaps the hot couching may have killed off the bacteria.

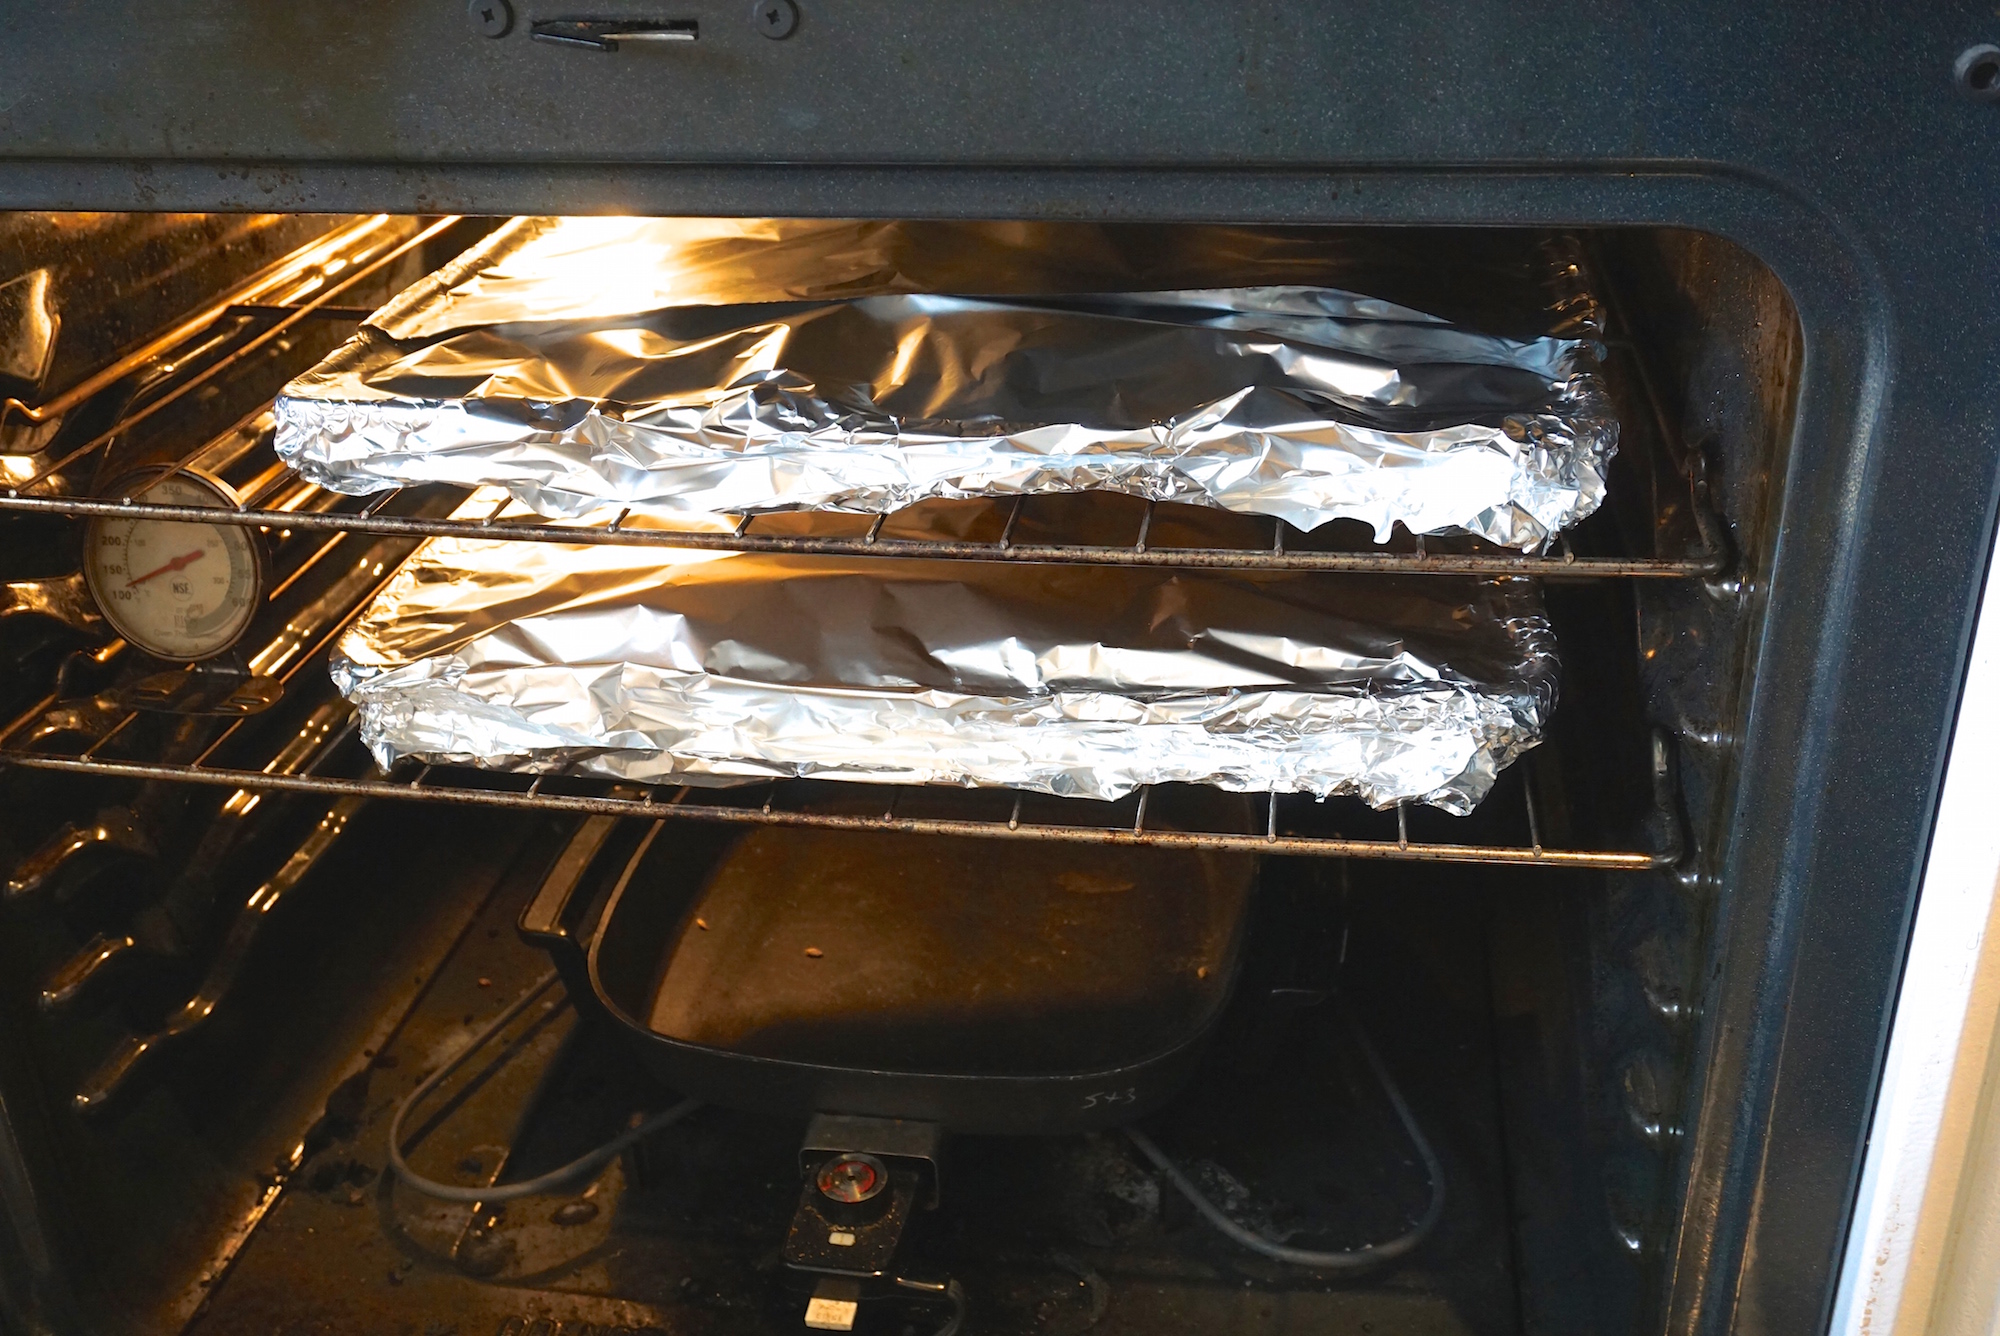
Honey malt left, my brumalt center, batch #7 on right. 18 hr stew at 50C vs 8 hr.
PH is also affected by colour of course, generally speaking the darker the malt the lower the pH, but a characteristic of Honey malt is that it lacks the roasted or toasty flavours you would get from a dark malt due to the lower curing temperature. The colour comes from the melanoidins developed during stewing. When you add a stewing phase at 50C 122F proteolytic enzymes break down the proteins into sugars and amino acids which when combined with heat in a moist environment create melanoidins which give you malty flavours and colour. You can control the amount of colour by varying the time your malt spends at this stewing phase. After experimenting I found that 8 hours at 50C will give me a colour around 25-30 L, similar to Honey malt. Of course that will vary with the barley used and the amount of protein in the grain. Roasted malts on the other hand which are created when the malt is dry and at a higher temperature will give you more roasted flavours, sort of like the formation of toast vs. bread crust.

Comparing pH of my brumalt to Honey malt – just pure luck that they’re exactly the same, other batches are not.
 One test that I’ve been using to compare malts is meant to measure the soluble sugar and extract potential (sort of). It’s not a scientific test and not very consistent but since it’s just comparative it does give some insight as to how a malt is made. I’ve been using this test because it’s quick. A measured amount of grain (1.6 oz) is weighed and crushed and mixed with 250 mL of boiling water. The use of boiling water was meant to inactivate the enzymes but since the temperature of the water drops as it’s added to the sample some of the enzymes survive and end up converting some of the starches.The sample is allowed to settle and cool and then is measured with a refractometer.
In a true cold water extract test the water is mixed with a solution of ammonia to inactivate the enzymes. Cold water extracts are used to measure the amount of soluble sugars or “pre-formed sugars” there are, which tells you how well modified a malt is, the higher the number the more thorough the modification.
The results that I’ve gotten just using boiling water are quite telling. Honey malt gets a very high brix number similar to a pale malt that I made. My Brumalt was a close second, Munich scored lower and caramel malt scores very low. So since this test is actually showing us the diastatic power or even the extract potential it would lead me to believe that honey malt is kilned at lower temperature than Munich. Keeping the kilning temperature below 50C until the moisture content is below 10% will not destroy as many enzymes.
In a true hot water extract test the malt is mashed according to a very specific schedule and what you find out is the potential extract of a malt. I tried my own version of this test as well with small 50g samples comparing Honey malt, Munich 30L, Aromatic, Melanoidin and my own. Although my test was crudely done Honey malt still came out on top with the highest brix reading, mine was still second.
Here are some of the things I’ve tried with these these test batches:
Germination temperatures, 1. warm throughout, 2. warm during the last 3 days and 3. warm for the last day only. Warm germination temperatures during the final phase of germination promote the development of proteolytic enzymes, the enzymes which act on proteins. From what I’ve read the longer the germination the more enzymes will develop and to have a long germination the temperature must be kept at 13C or 55F. The warmer the germination the faster the grain grows. What seems to work best (for my barley) is 6 days at 13 then a day at 22C.
Couching, I’ve tried a few different lengths of time to get a lower pH and determined that with my barley, 16 hours at 37C with a shorter rest at 50C for 8 hrs, both in a sealed ziploc bag and low kilning temperatures gives me the same pH and colour.
High kilning- raising the temperature to 60C while there is still 25-30% moisture. Usually done with Munich malt for maltier flavour and for colour, this will lower the diastatic power of the malt. I don’t seem to be having any problems achieving colour with kilning temperatures below 50C, the amount of colour is dependant of the length of time it spends stewing at 50C. This could be an indicator of a high level of protein in my barley. So I settled on using low kilning temperatures to maintain the enzymatic power as much as possible. As well I’ve also tried different curing temperatures and I’ve found to minimize the roasty character the curing temperature must be kept below 200F. The biggest changes in colour and pH occur during the curing phase, a half hour can make a huge difference.
What I’ve achieved so far is a sweet malt, not roasty and with the same pH and colour as Honey malt. It’s very unique and I’ll be using it whenever a recipe calls for melanoidin malt but it has more of a tart flavour and is missing the deep honey-like and almost vinous flavour characteristic in Honey malt. I am not going to give up trying to figure out this malt but there are a lot of variables at every stage. Along with my procedure, the variety of barley and it’s protein content could be affecting my results as well as the scale at which it’s produced. As well since bacteria seem to be involved it’s flavour characteristics could be due to the local environment in which it is malted or where the barley was grown which is literally 1000 km away. Unfortunately I have to put this malt on hold since I’ve used almost all of the barley I grew last year. This is the schedule that comes closest so far:
This will give you a sweet yet sour malt (low pH) that’s around 30L and maintains it’s diastatic power.
Steep until 48%
Germinate at least 6 days at 13C, acrospires at 3/4 then 24 at room temp. 22C (acrospires on average are now the full length of grain)
Couch (lactic acidification phase) in a zip-loc bag sealed for 16 hours at 37C
ramp up temp to 50C (proteolysis phase) and hold for 8-10 hours for about a 30L colour, Add more time for more colour 16-18 hrs = around 60L
Kiln at 40-45C for 24 hours or until moisture is below 10%
Cure:
1 hour at 175F 79C
1 hour at 185F 85C
3 hours at 190C 88C